Outbound
Navigating to Outbound Email Settings
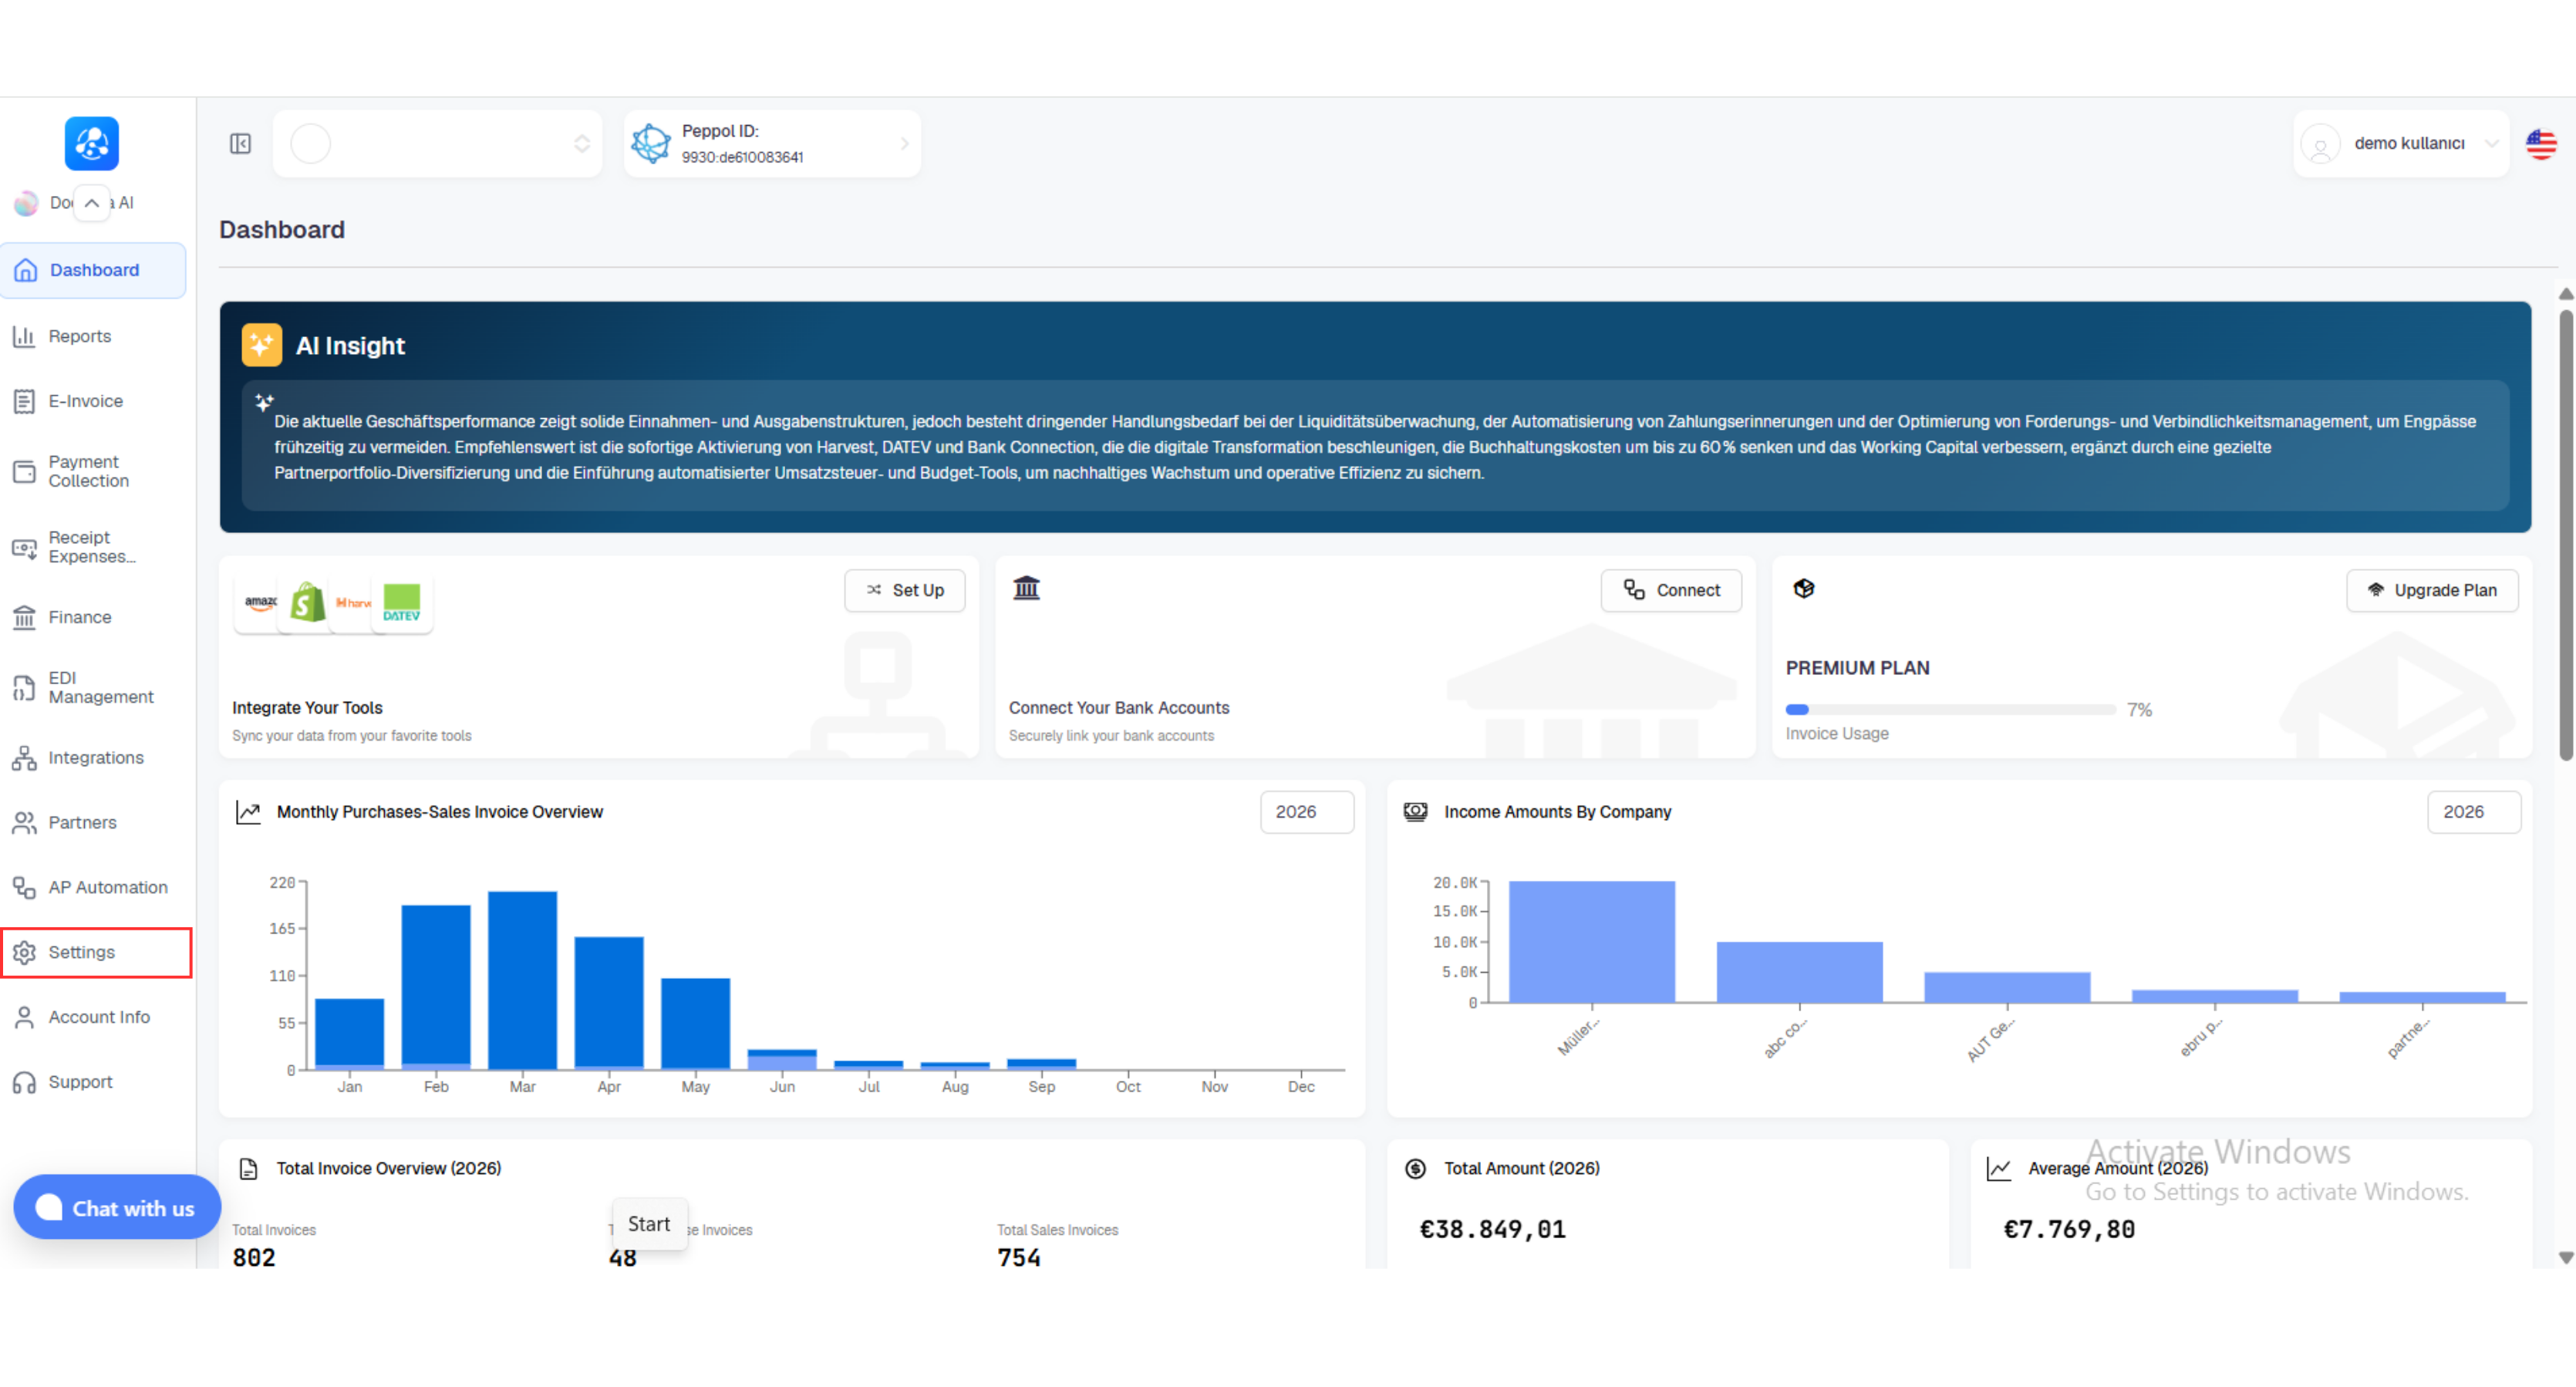
- In the left-hand menu, click Settings.
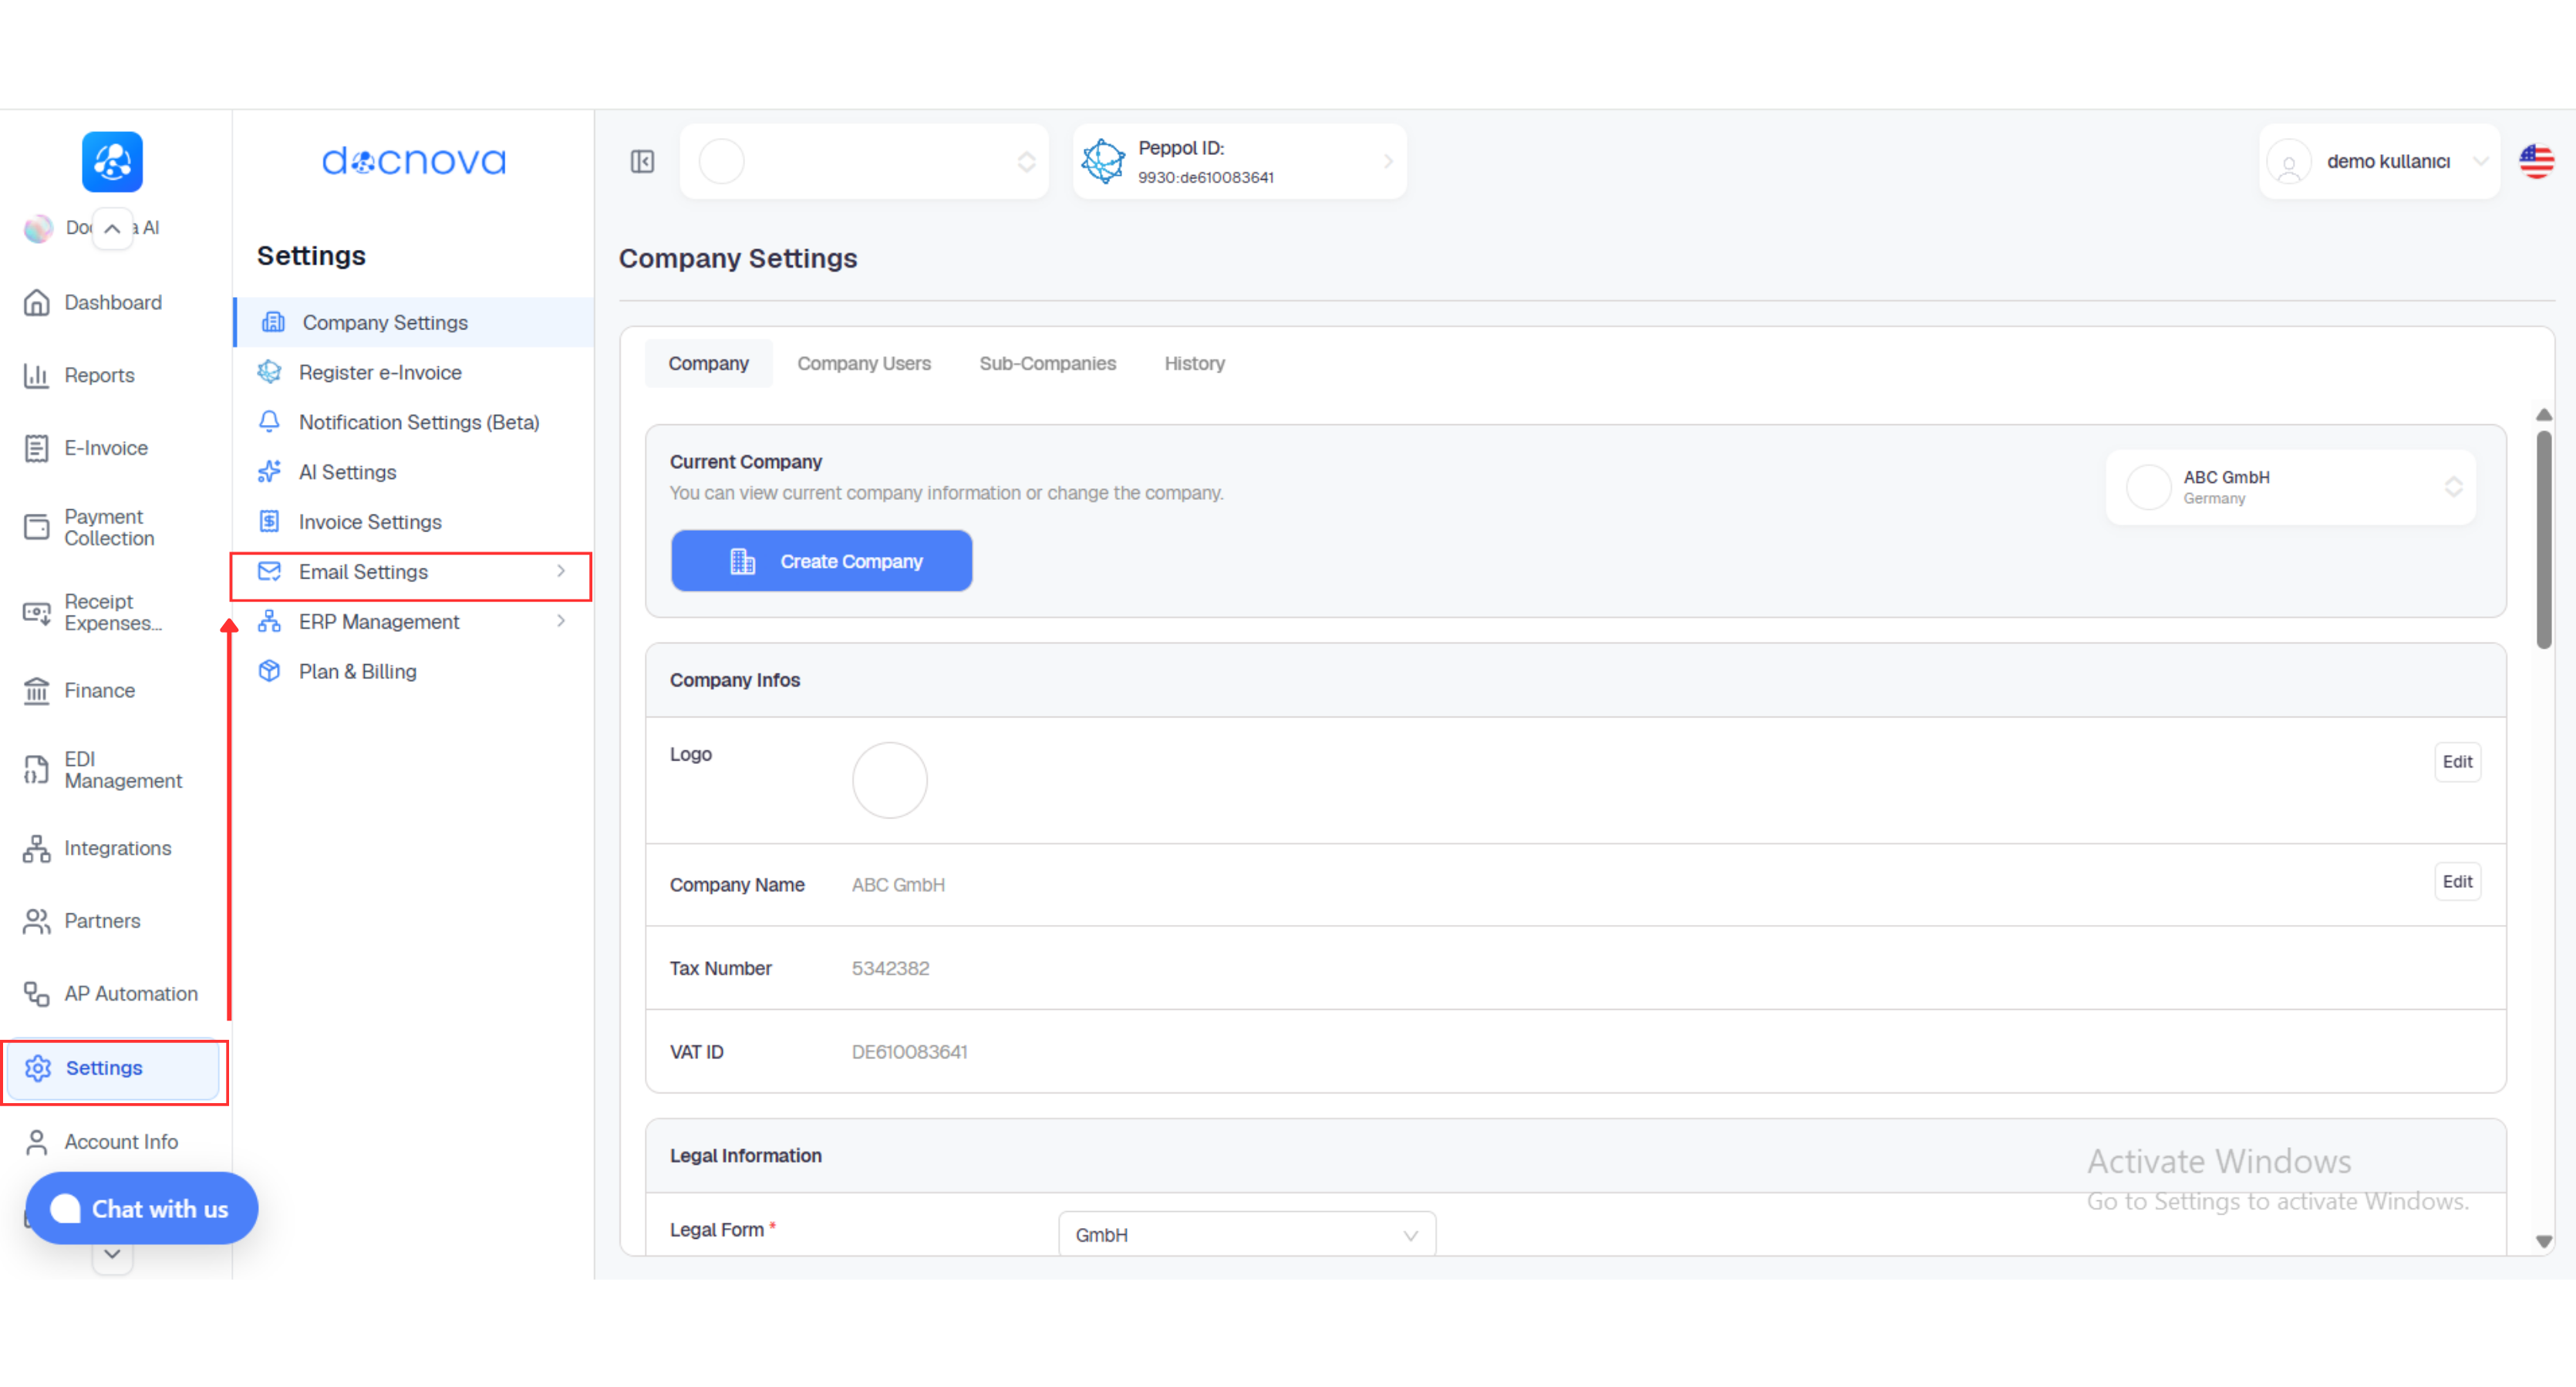
- Click Email Settings to expand it, then select Outbound.
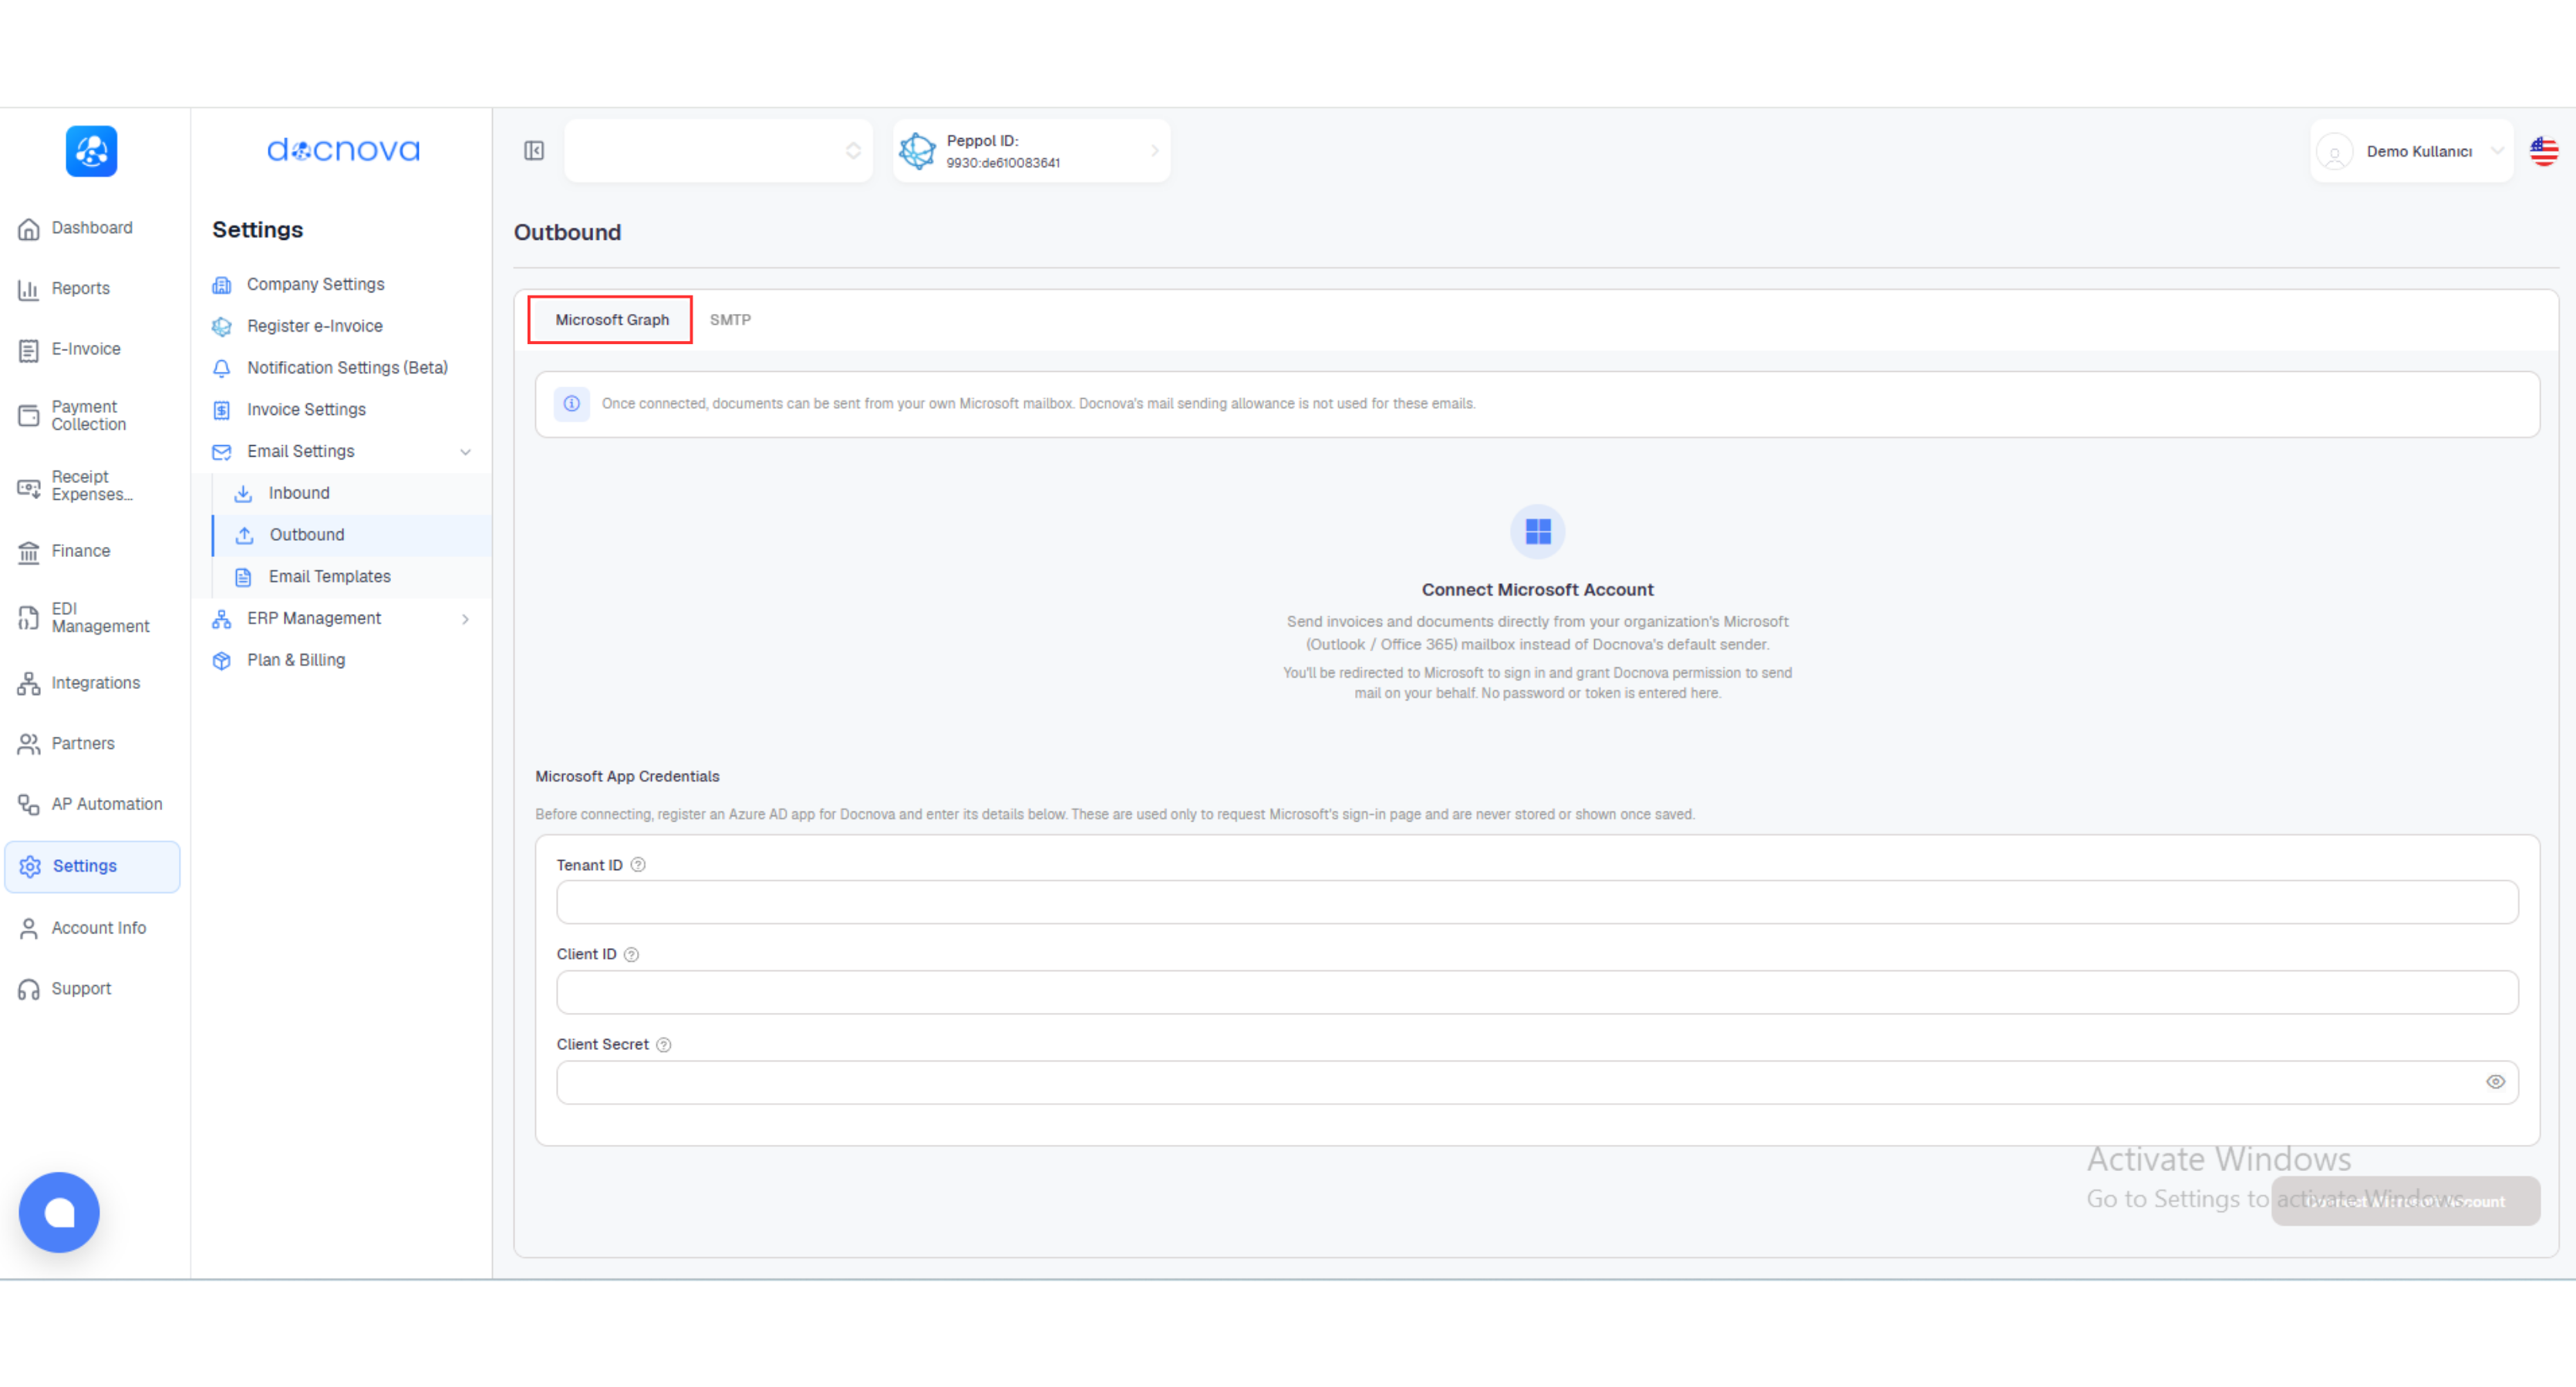
- On the Outbound page, select the Microsoft Graph tab to configure the connection.
Microsoft Graph Email Integration
Overview
The Microsoft Graph integration lets invoices and other documents sent from Docnova go out through the company's own Microsoft 365 (Outlook / Office 365) mailbox instead of Docnova's default sender address.
Once connected, the recipient sees the email as coming directly from the company's own corporate address, and sending no longer uses Docnova's own email sending quota. The setting lives under Settings → Email Settings → Outbound and is configured per company: each company record keeps its own Microsoft account and its own Authorized Senders list.
Prerequisites
Before setting up the connection, make sure you have the following ready:
- An app registration for Docnova created in Azure Active Directory (Entra ID).
- The three values from that registration: Tenant ID, Client ID, Client Secret.
- The app must be granted permission to send email on the user's behalf: the Microsoft Graph Mail.Send and Mail.Send.Shared permissions. Without
Mail.Send.Shared, sending from any address other than the connected account (additional addresses added to the Authorized Senders list) fails with a 403/404 error. TheMail.Send.Sharedpermission must be defined in the app registration, and admin consent (Grant admin consent) must be granted. - For every additional sender address other than the connected Microsoft account, the connected account must be granted Send As permission on that mailbox in Microsoft 365. The permission is granted on the additional sender's mailbox (Identity) to the account connected to Docnova (Trustee); if it is granted in the opposite direction, sending fails.
Once saved, the Client Secret is never displayed again in plain text within Docnova — these values are only used to trigger the Microsoft sign-in page.
Step-by-Step Setup
- Open the Settings tab from the left menu.
- In the Settings submenu, expand Email Settings and switch to the Outbound tab.
- Make sure Microsoft Graph is selected at the top (SMTP is the alternative sending method).
- In the Microsoft App Credentials section, enter the Tenant ID, Client ID, and Client Secret from your Azure AD app registration.
- Once the fields are filled in correctly, the Connect Microsoft Account button becomes active; click it.
- On the Microsoft sign-in screen that opens, sign in with the account that will be granted permission to send mail for Docnova, and approve the requested consent. No password or token is entered into Docnova at this step — authorization happens directly through Microsoft.
- Once the redirect completes, the Outbound page shows the connection status: Status: Active, with the signed-in account's address shown under Connected Account and Default Sender.
Authorized Senders
Once connected, the signed-in account is automatically added to the list as the Default Sender. Additional addresses (e.g. shared/department mailboxes) can be added to allow sending on the company's behalf from other mailboxes.
| Field / Action | Description |
|---|---|
| Enter sender email address + Add sender | Adds a new sender address to the list |
| Radio button | Selects the currently active / default sender |
| Trash icon | Removes the selected sender address from the list (the default sender cannot be deleted) |
| Added on | Date and time the Microsoft connection was established |
To send from an additional address, two separate steps must both be completed. If you see "we granted permission in Microsoft but still get an error", one of these steps is usually missing.
Step 1 — Add the sender in Docnova: On the Outbound → Microsoft Graph tab, enter the new address in the Authorized Senders list and click Add sender. This only registers the address as a sender in Docnova; it does not grant any permission on the Microsoft side.
Step 2 — Grant Send As in Microsoft 365: This must be done by the company's own Microsoft 365 administrator.
- Sign in to admin.exchange.microsoft.com with Global Admin or Exchange Admin rights.
- Go to Recipients → Mailboxes and select the sender mailbox to be added.
- Open the Mailbox delegation tab and go to Send as → + Add permissions.
- Add the account connected to Docnova via OAuth.
The direction of the permission matters; if it is granted the other way round, sending will keep failing:
| Field | Value |
|---|---|
| Identity (mailbox being granted) | The new sender address to be added |
| Trustee (account using the permission) | The account connected to Docnova via OAuth |
With PowerShell (optional, faster):
Connect-ExchangeOnline
Add-RecipientPermission -Identity "new.sender@yourcompany.com" -Trustee "connected.account@yourcompany.com" -AccessRights SendAs -Confirm:$false
Once granted, the permission usually takes effect within a few minutes; if you test immediately you may see a temporary error — wait a few minutes and try again.
Disconnecting the Account
The Disconnect Microsoft Account button in the bottom-right corner ends the Microsoft connection whenever needed. Once disconnected, sending reverts to Docnova's default sender address.
Notes
- The setting is per company: each company record keeps its own Microsoft account and its own Authorized Senders list; connecting one company does not affect another.
- The Client Secret field can be viewed briefly via the eye icon, but after saving it is never stored or shown again as plain text.
- If sending from an additional address fails, check: the Mail.Send.Shared permission and admin consent in the app registration, the Send As permission for that address in Microsoft 365, and that the permission was granted in the correct direction (Identity / Trustee).
- Microsoft reference documentation: Send Outlook messages from another user – Microsoft Graph