EDI / IDoc Mapping Profile Guide
For your Germany company account, you can create custom mapping profiles that convert incoming EDIFACT D96A or IDoc invoices into any supported Germany target format. Default profiles are available as a starting point. There is no limit on the number of mapping profiles you can create per company.
1
Open the EDI Management screen
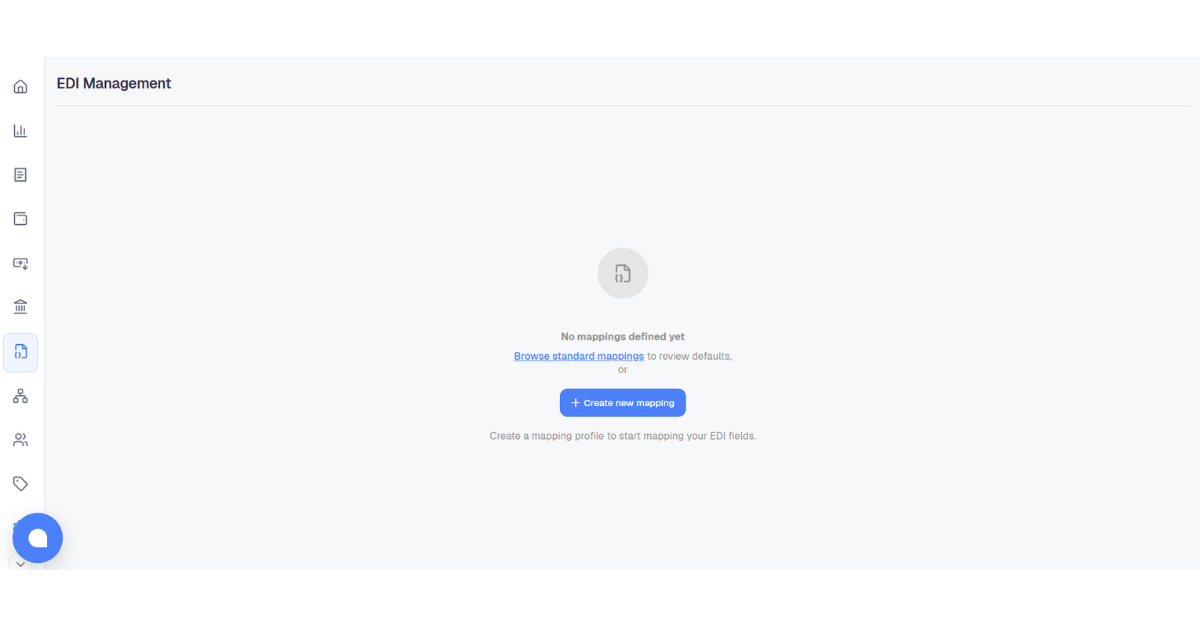
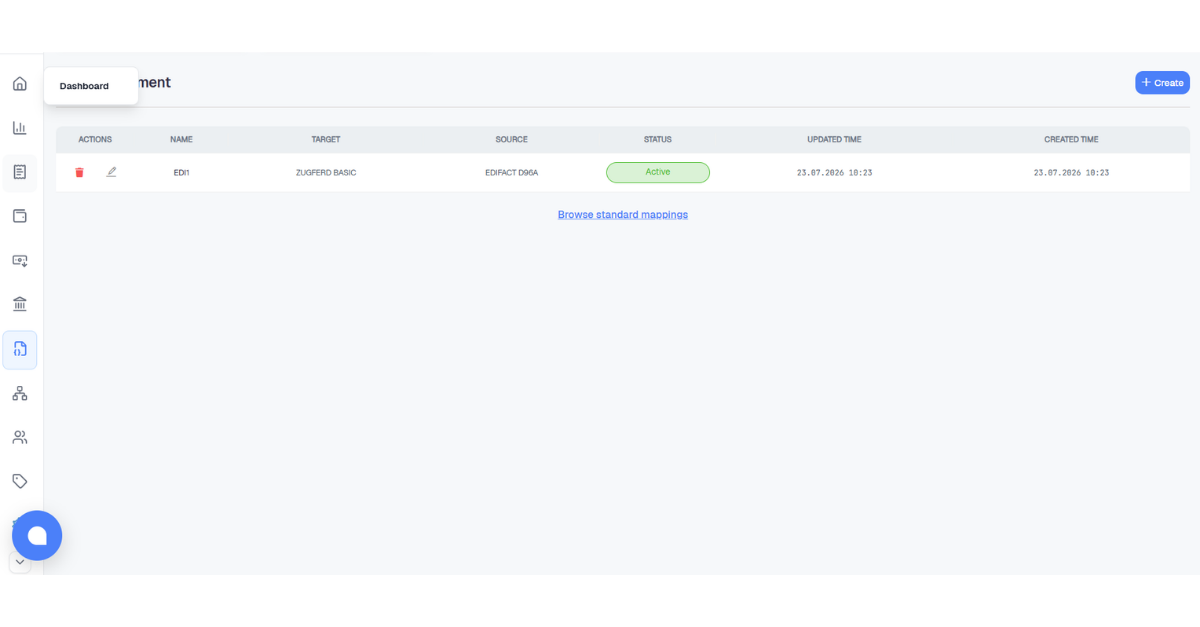
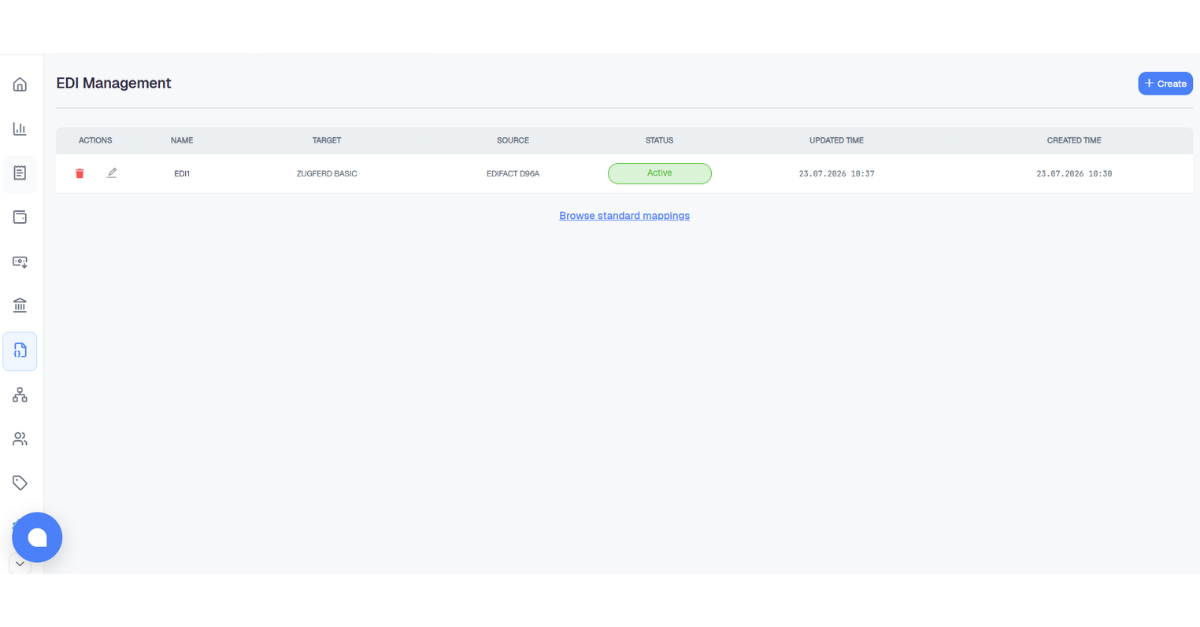
Click the EDI Management icon in the left sidebar. If no profiles exist yet, the screen shows an empty state with a + Create new mapping button. Once profiles are created, they appear in a table listing their name, target format, source format, status, and timestamps.
2
Create a new mapping profile
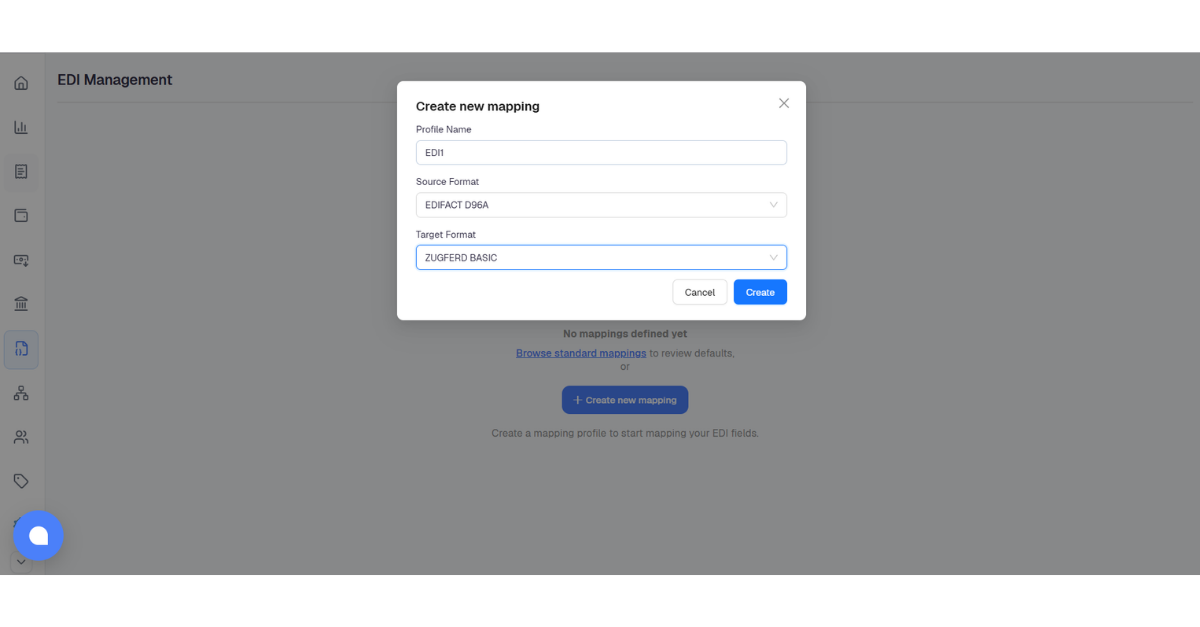
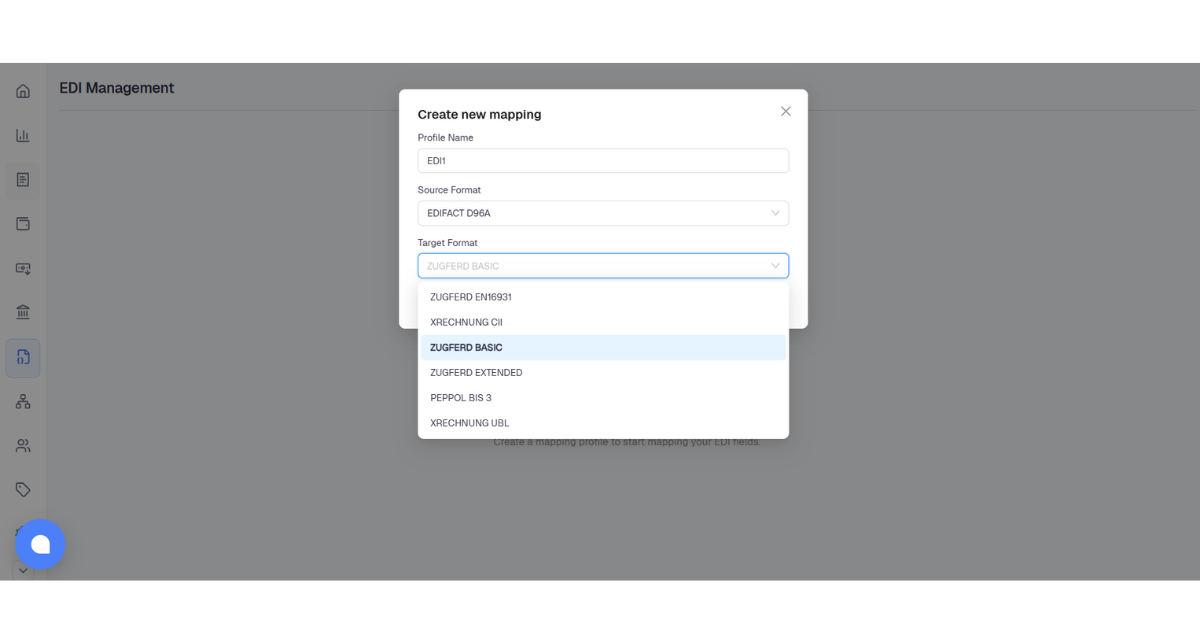
Click + Create or + Create new mapping from the empty state. The modal has three fields:
- Profile Name must not contain spaces; use a hyphen (-) or underscore (_) instead. A suggested name is pre-filled.
- Source Format is the incoming data format:
EDIFACT D96AorIDoc - Target Format is the output invoice format to convert to. See Step 3 for all options.
3
Target format options
All available target formats for Germany company accounts. Select one when creating a profile.
| Category | Target Format | Description |
|---|---|---|
| ZUGFeRD | ZUGFeRD Basic | CII-based · Whitelist restricted |
| ZUGFeRD | ZUGFeRD EN16931 | CII-based · Germany specific |
| ZUGFeRD | ZUGFeRD Extended | CII-based · Germany specific · Extended |
| XRechnung | XRechnung CII | CII-based · Germany B2G standard |
| XRechnung | XRechnung UBL | UBL-based · Germany B2G standard |
| Peppol | Peppol BIS 3 | Global e-invoice standard |
4
Mapping Editor
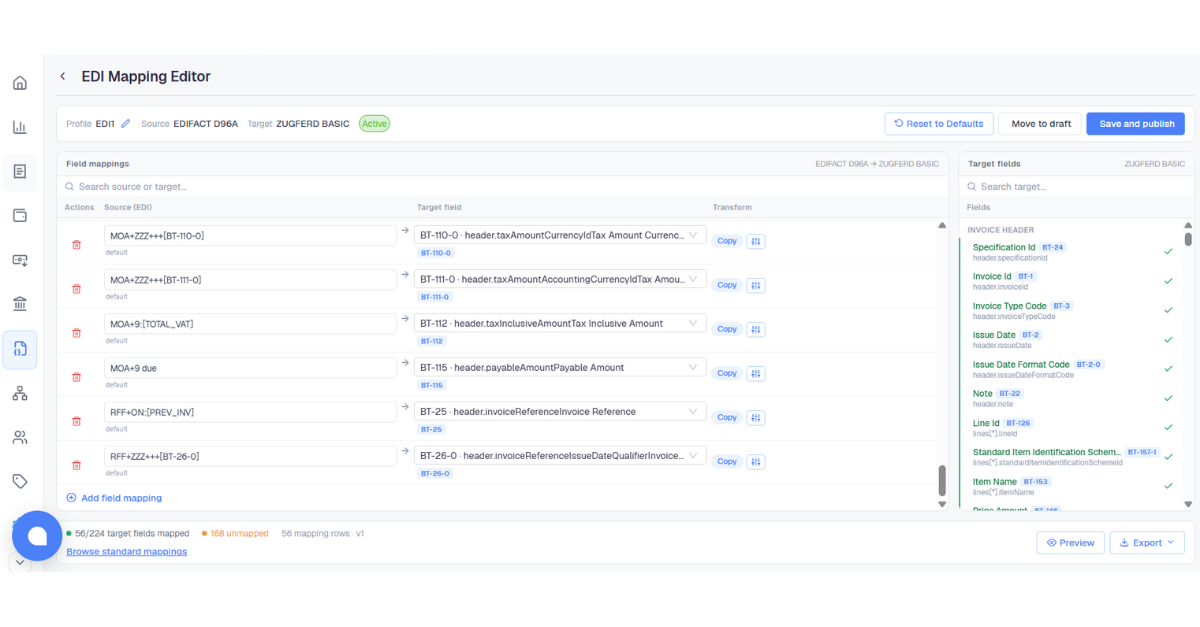
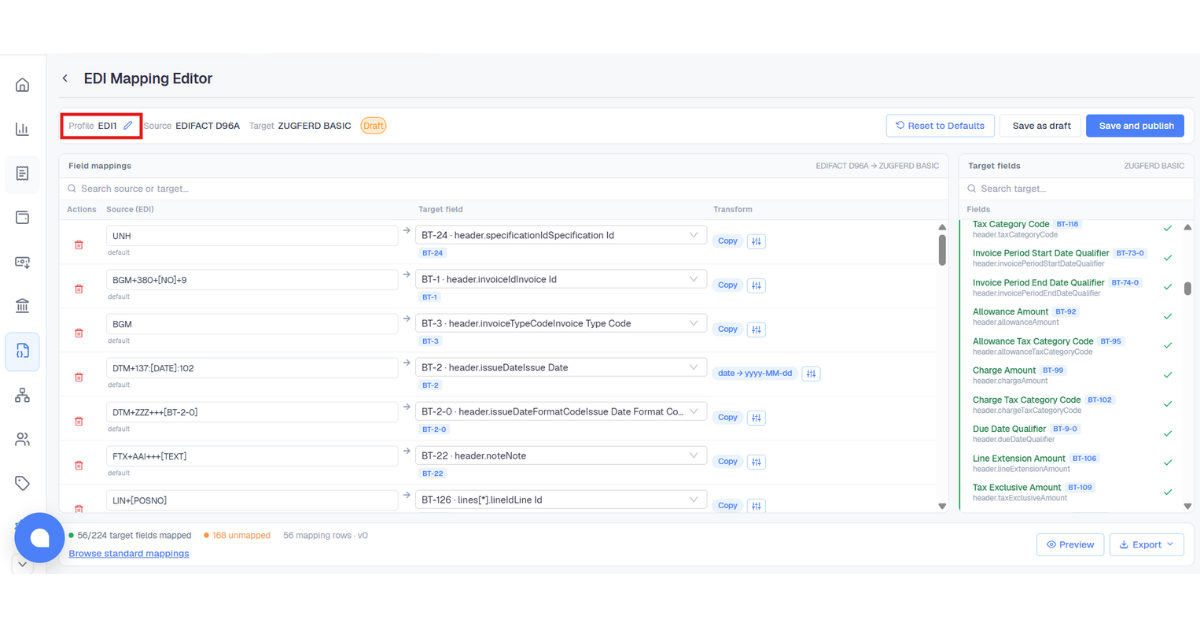
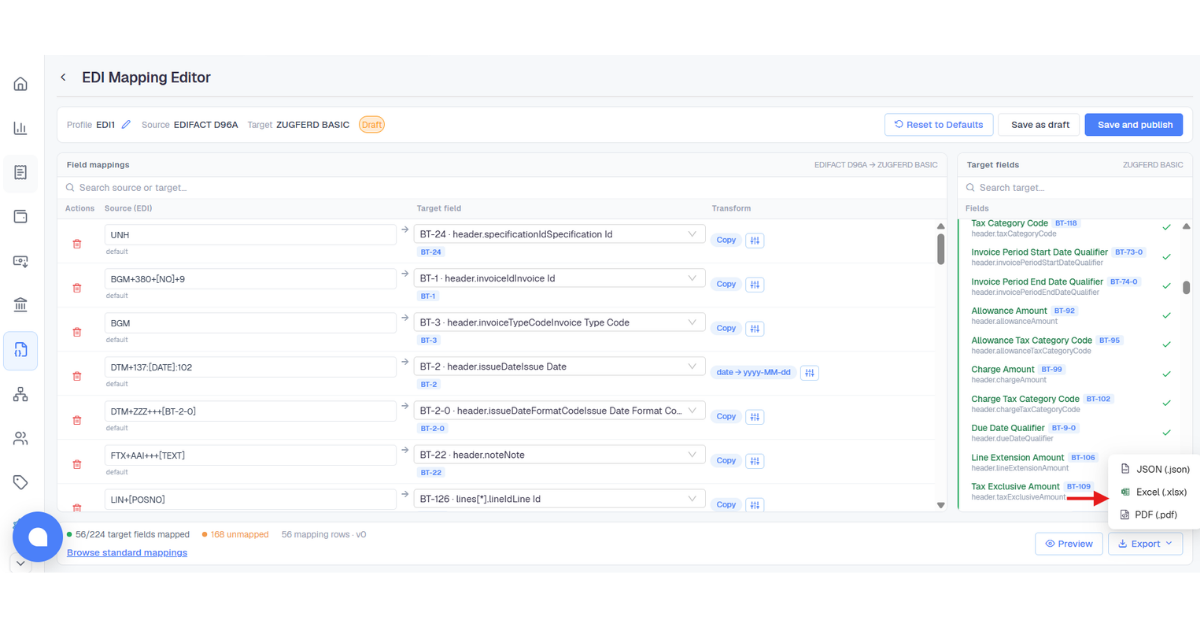
After clicking Create, the Mapping Editor opens. Each row maps an EDI source field to a target BT/TT code. Default mappings are pre-filled. You can adjust source fields, add transform steps, or delete rows.
The Target fields panel lists every required BT code for the selected target format. A green ✓ means that field is already mapped. Unmapped required fields block publishing.
Info: Use Browse standard mappings at the bottom of the editor to review which BT codes are required for each target format before you begin.
✏️ Renaming the profile: Click the pencil icon next to the profile name. An inline text field appears. Type the new name, then click ✓ to confirm or × to cancel.
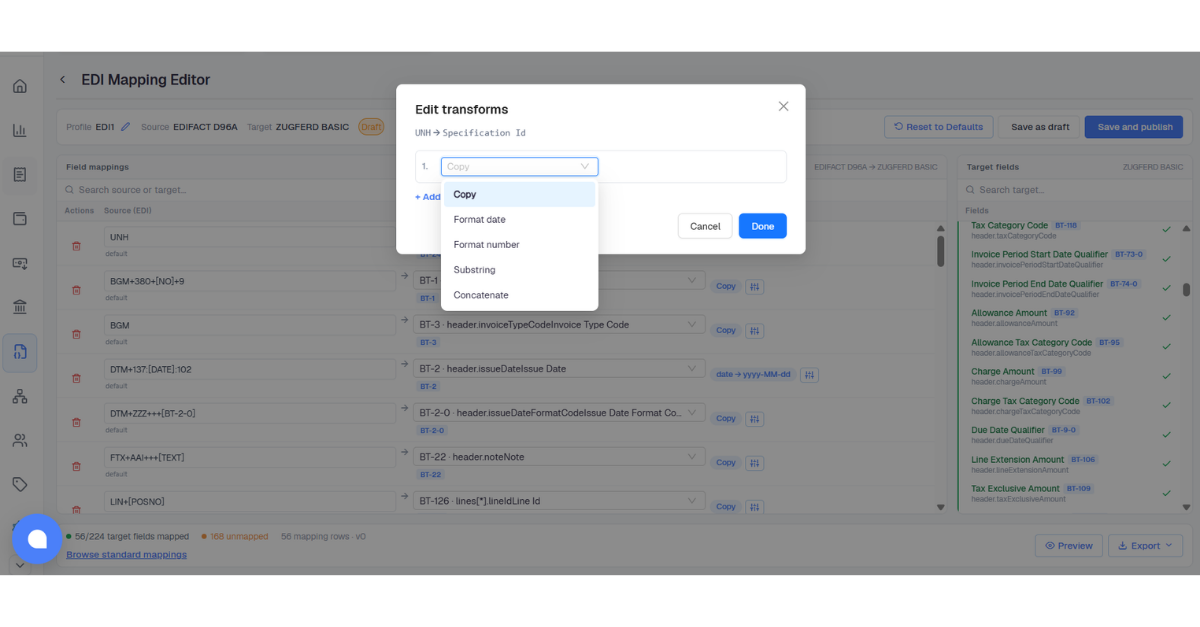
🎚️ Editing transforms: Click the sliders icon on any mapping row to open the Edit transforms modal. Choose one of five transform types to convert the source value before it is written to the target field:
- Copy – copies the source value as-is, with no transformation
- Format date – converts the date from one format to another (e.g.
YYYYMMDD→YYYY-MM-DD) - Format number – formats the number according to a specified numeric pattern
- Substring – extracts part of the source text starting at a given position for a given length
- Concatenate – joins multiple source fields together using a specified separator
You can chain multiple transform steps in sequence.
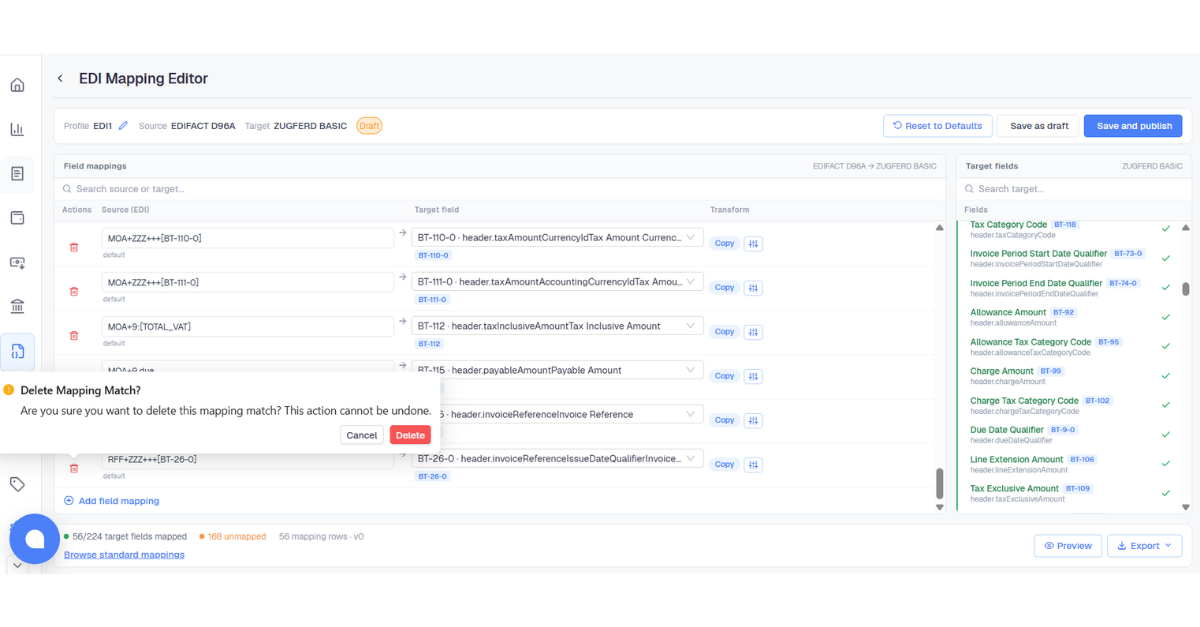
🗑️ Deleting a mapping row: Click the trash icon next to a mapping row. A confirmation dialog appears asking whether you are sure you want to delete the mapping match. This action cannot be undone. Click Delete to confirm or cancel to keep the mapping.
↻ Reset to Defaults: Clicking this button shows a confirmation popup. Confirming replaces all your custom mappings with Docnova's built-in defaults. This cannot be undone.
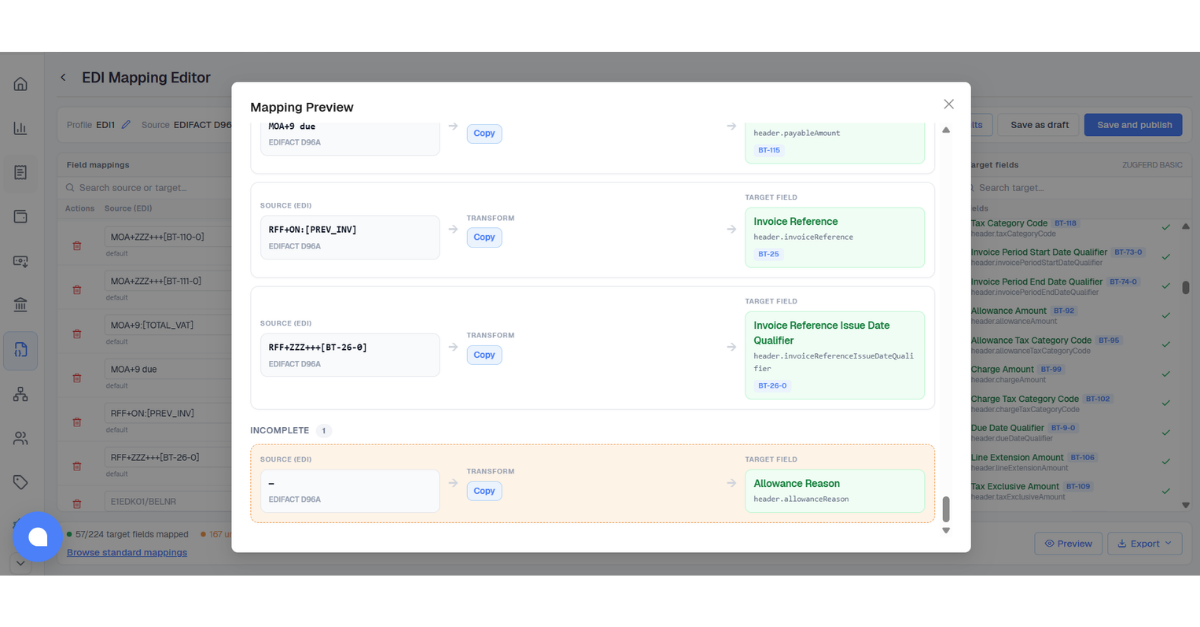
👁️ Click Preview at the bottom-right of the editor to see all mappings at a glance. Fields with no source selected appear in the INCOMPLETE section. Return to the editor to complete them before publishing.
5
Save and publish
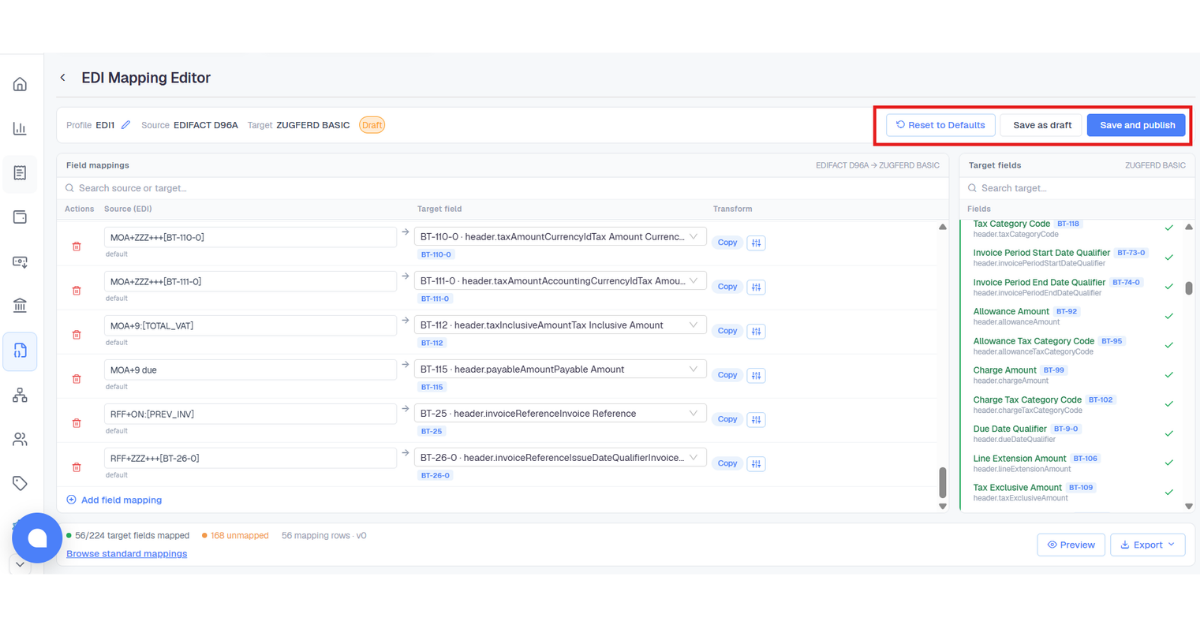
The editor provides three save actions in the top-right corner:
- Save and publish activates only when all required (BT) fields are mapped. Sets the profile to Active.
- Save as draft saves progress with incomplete fields. Profile appears as Draft in the list.
- Move to draft demotes an Active profile back to Draft, visible when status is Active.
- Reset to Defaults replaces all mappings with Docnova defaults. Requires confirmation.
The footer status bar always shows how many required fields remain unmapped. Once it shows 0 required field(s) unmapped, Save and publish becomes clickable.
⛔ Save and publish is disabled while any required BT field has no source assigned. The top banner lists exactly which BT codes are blocking publish.
6
Sending documents with a profile
When submitting an EDI or IDoc document for conversion via the API, you must include the profileName field. Docnova uses this to find the correct Active profile and apply its mappings during conversion.
The profile name must exactly match the name in the EDI Management list. It is case-sensitive and must contain no spaces.
⚠️ If profileName is missing or does not match an Active profile, the document cannot be converted. Make sure the profile is published before sending.